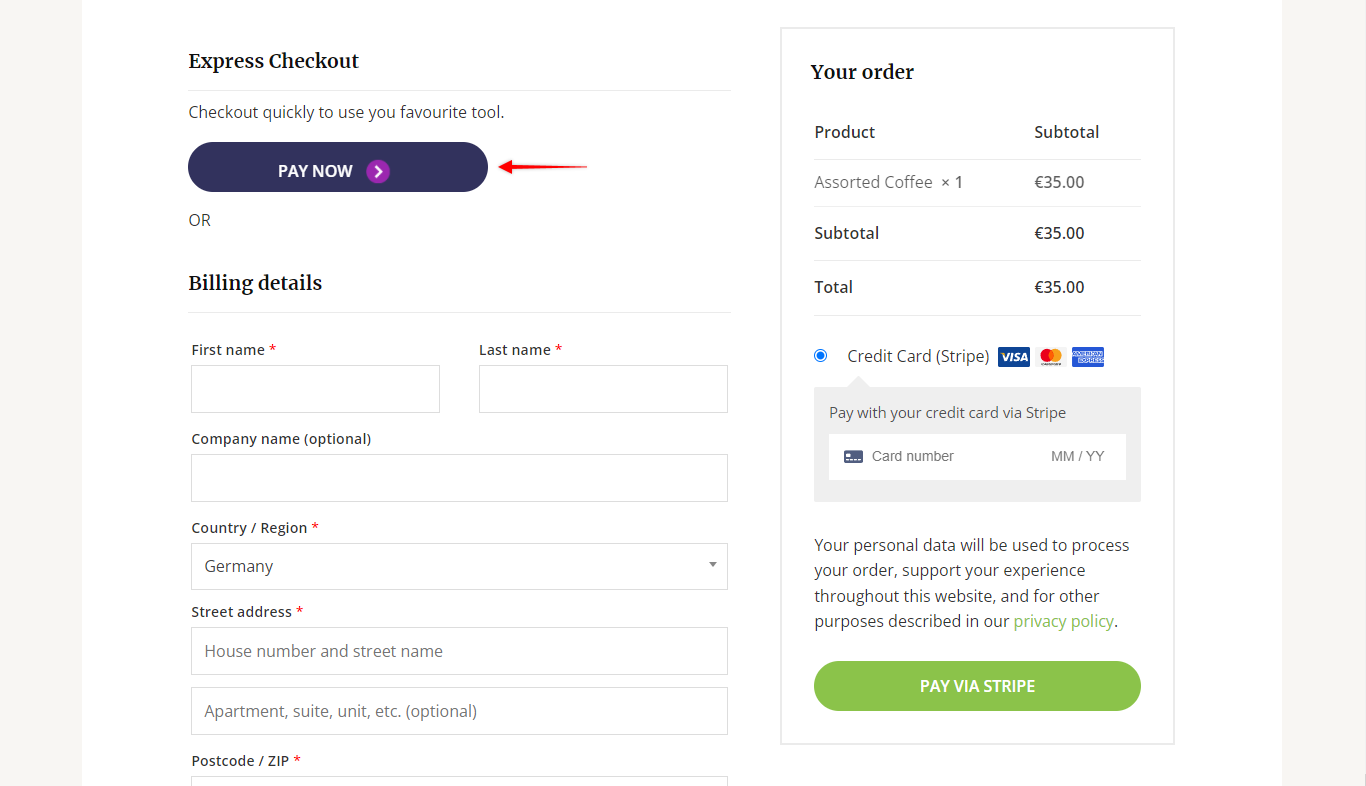
With Stripe for WooCommerce, you can add the Express Checkout to your store. Since it allows visitors to buy directly from the product, cart, or checkout page, it can significantly improve your conversion.
Setup Express Checkout
To start using Express Checkout on your store, please follow these steps:
Step 1 – Make sure you have Stripe for the WooCommerce plugin installed and activated together with WooCommerce;
Step 2 – Navigate to WooCommerce > Settings > Payments and click on Stripe API Settings. Here connect your Stripe account using Stripe Connect;
Step 3 – Once your Stripe account is connected, enable and set Card Payments for the store;
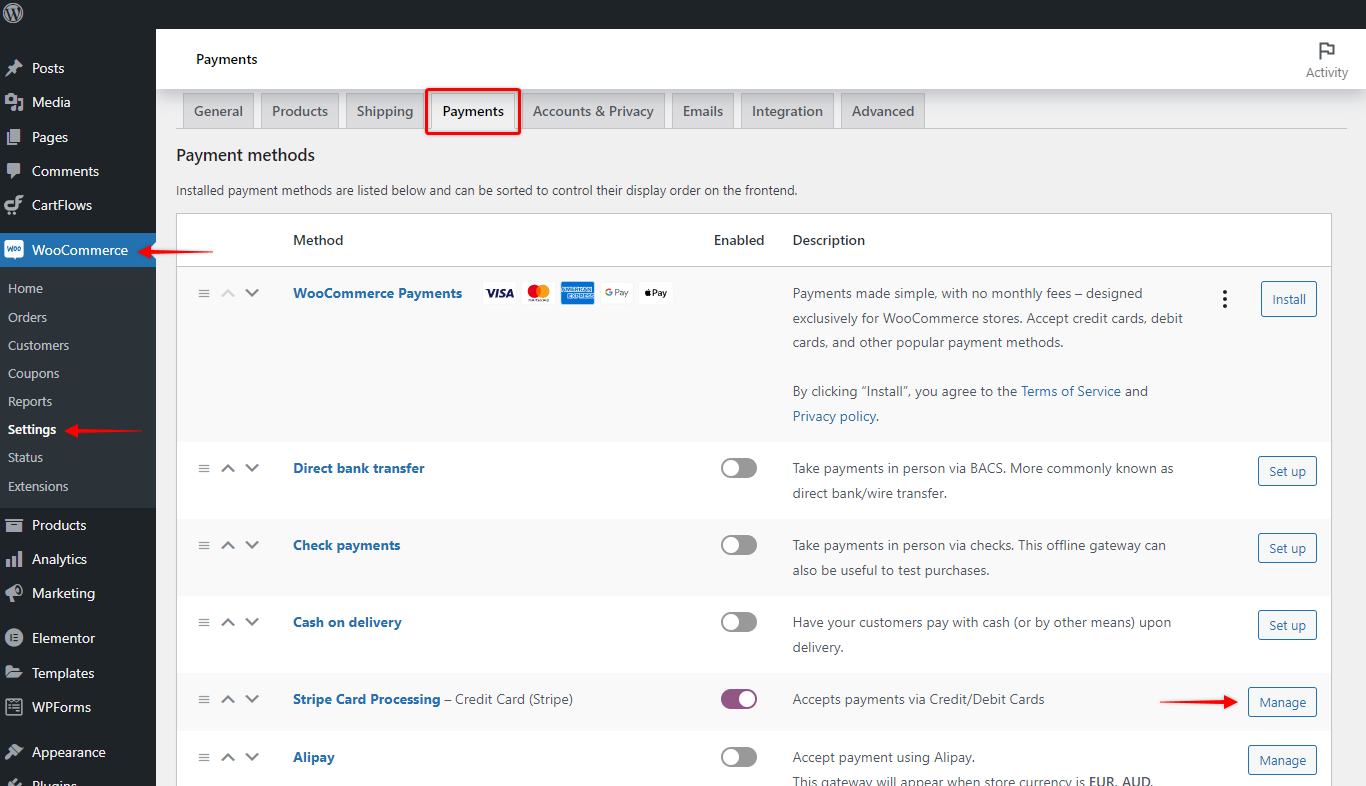
Step 4 – Next, on the Payment page (WooCommerce > Settings > Payments), click on the Manage button for “Stripe Card Processing“;
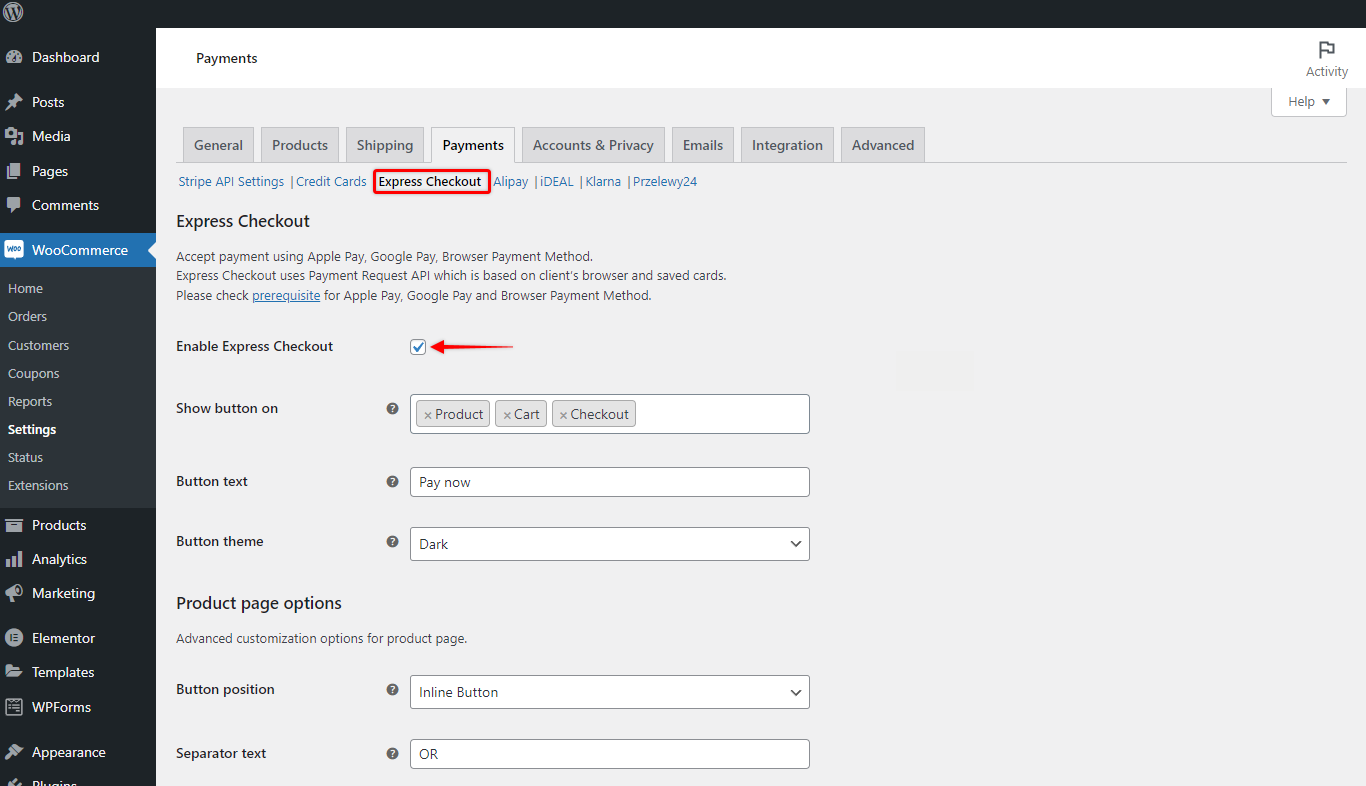
Step 5 – Finally, click on “Express Checkout”. Now, you can enable the feature and click “Save Changes”.
Available Settings
Once you enable Express Checkout, it will be added to your store with the default settings applied. Further, you can customize the Express Checkout button and modify the product and the checkout pages.
Basic Button Settings
You can start by choosing all the pages where you wish to add the “Express Checkout” button. By default, the button will be enabled on all pages (Product, Cart, Checkout).
Next, you can and your custom button text and choose a button theme (Dark, Light, Outline).
Advanced Options
You can enable advanced product and checkout options by checking the appropriate boxes:
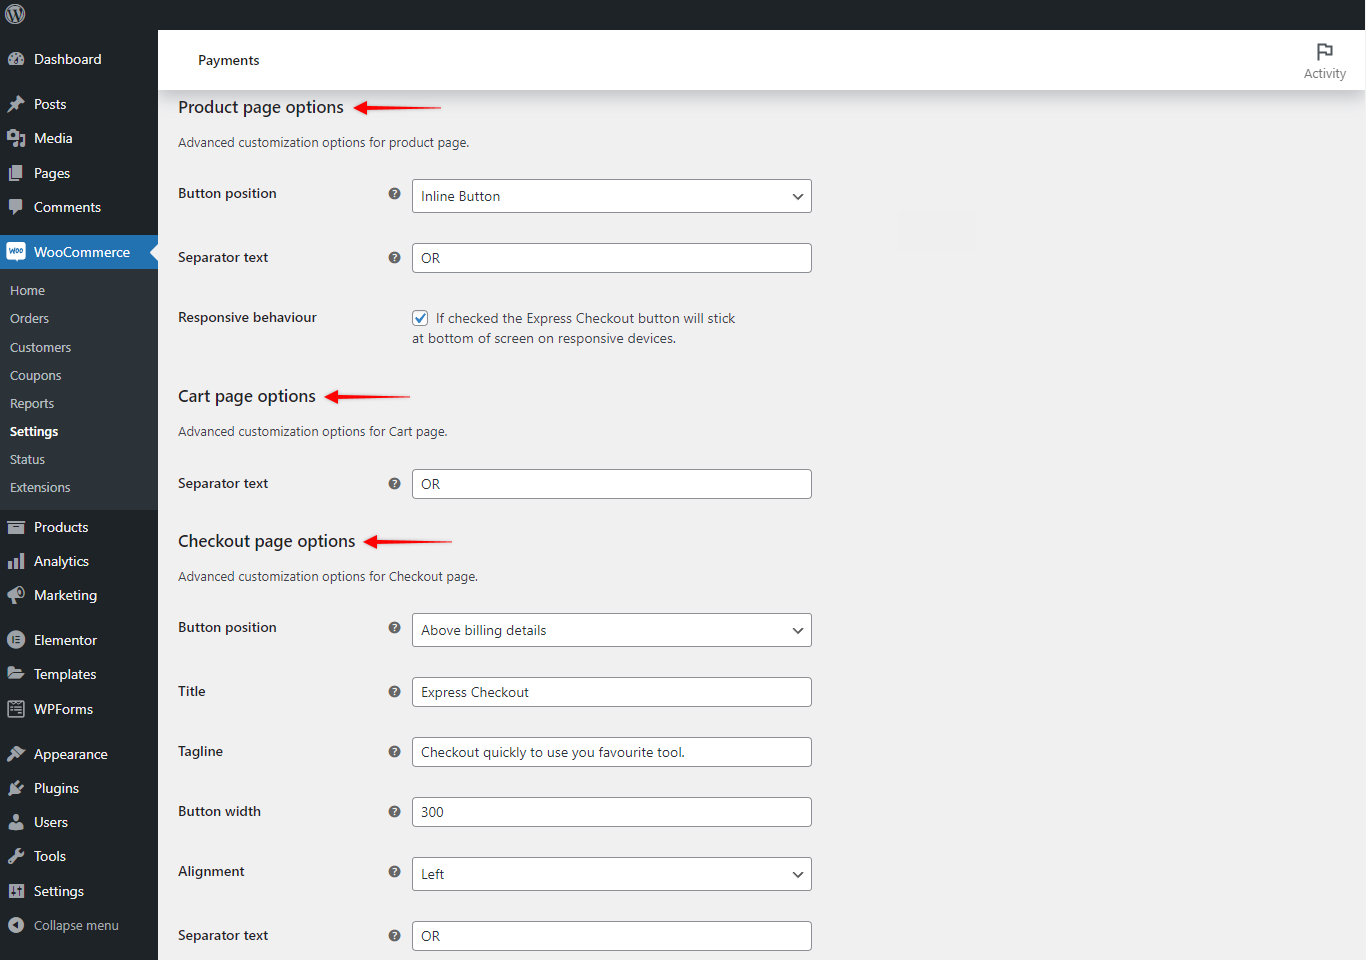
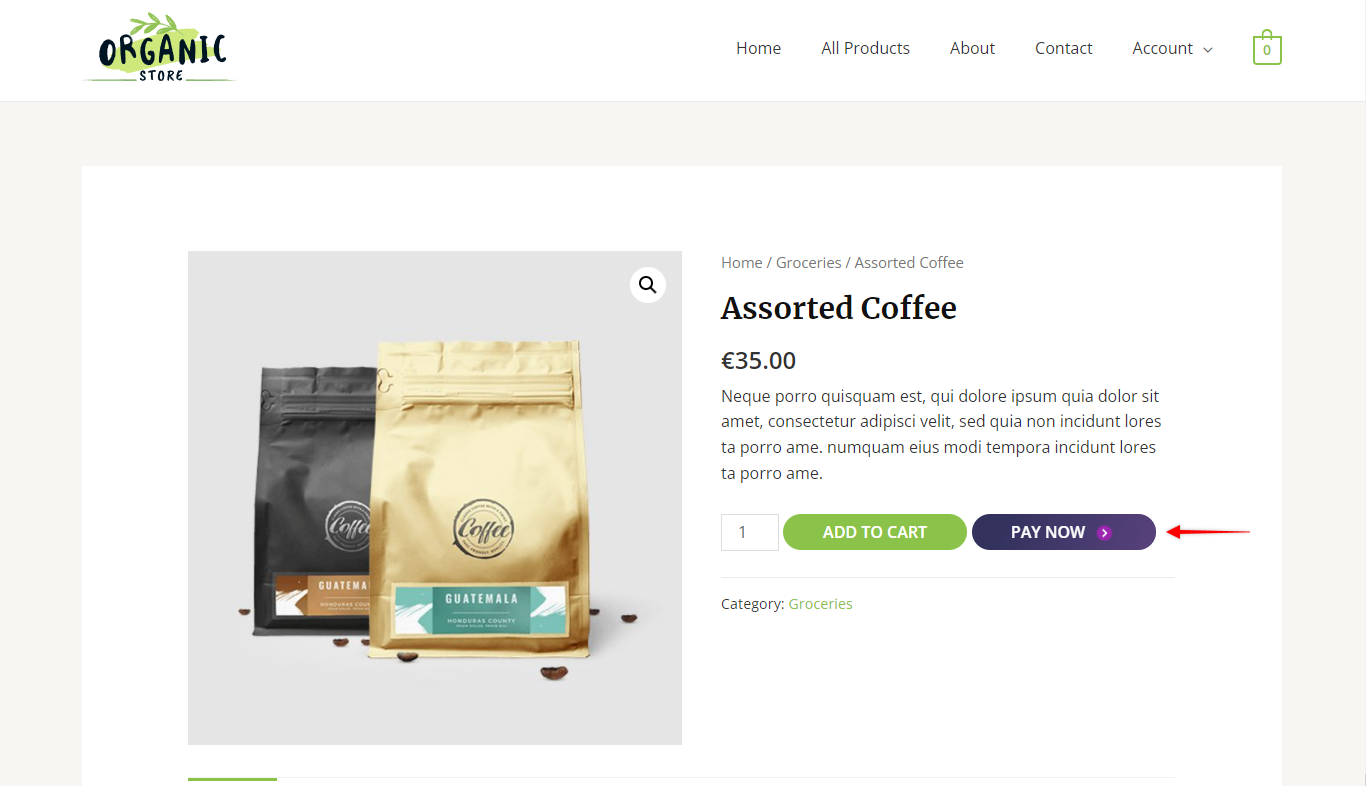
- Product Page Options: Here, you can choose to place the button above, below or inline with the “Add to Cart” button. Also, you can customize the separator text (visible with above and below placement). In addition, there is an option to stick the button at the bottom of the screen on mobile devices;
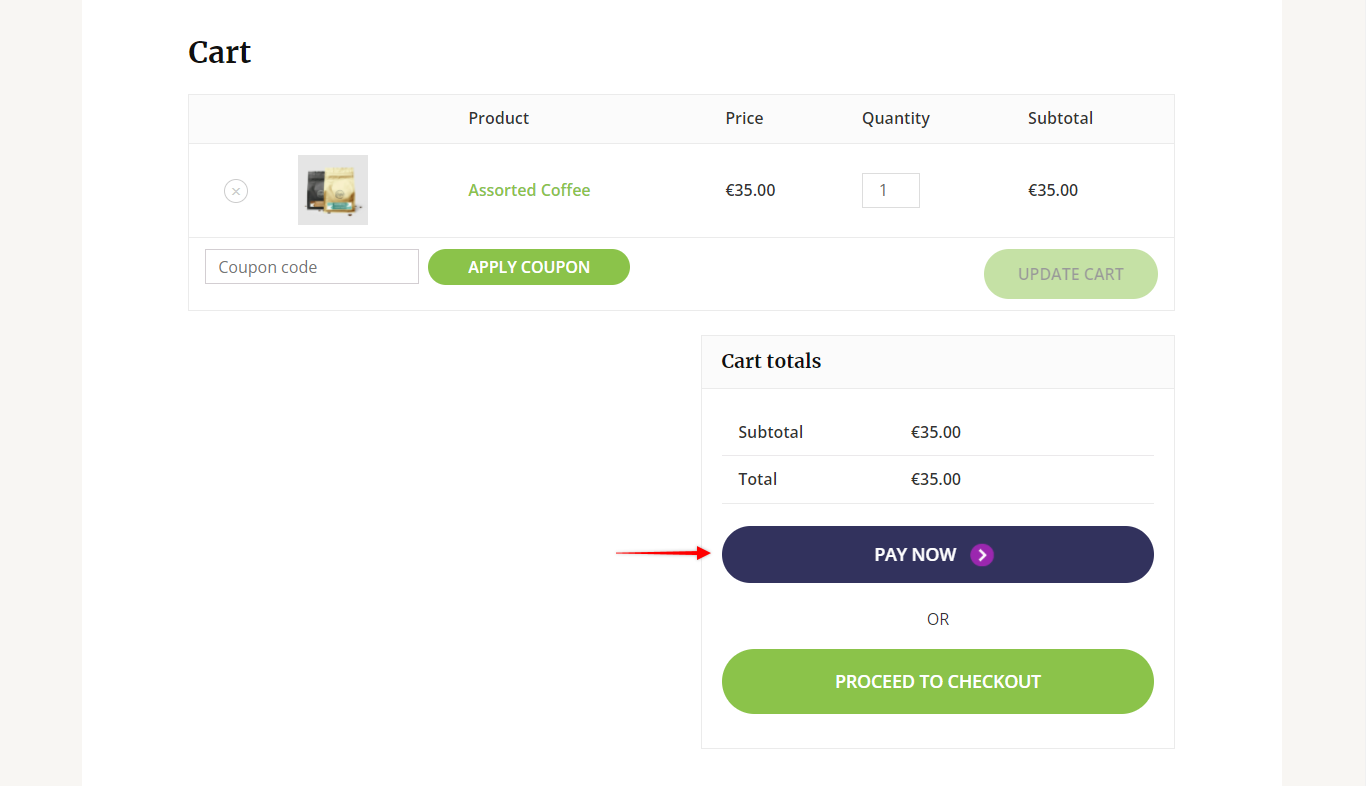
- Cart Page Options: For the cart page, you can customize the separator text;
- Checkout Page Options: For the checkout, you can choose to place the button above billing details or above the whole checkout form. Also, you can set the button width and alignment, and customize the title, tagline, and separator text.